How To Build AI Agent API For OpenWebUI (Step-by-Step)
Want to build your own AI chatbot and test it in a chat app like OpenAI? 😊
In this guide, you'll learn how to create an AI agent using Laravel & LarAgent v0.5, turn it into an API endpoint compatible with OpenAI clients, and connect it to OpenWebUI, a free and open-source chat interface.
Let's get started! 🚀
If you prefer to watch a video, check this out:
Set up Laravel and LarAgent
Create (or open) a Laravel project
laravel new pirate-chat
# or: composer create-project laravel/laravel pirate-chat
cd pirate-chat
Install LarAgent
composer require maestroerror/laragent
php artisan vendor:publish --tag="laragent-config"
Add your OpenAI key
OPENAI_API_KEY="sk‑your‑openai‑key"Run OpenWebUI in Docker
If you haven't yet installed OpenWebUI, check step 3 in this article: https://medium.com/community-driven-ai/how-to-run-deepseek-locally-on-windows-in-3-simple-steps-aadc1b0bd4fd (Or search YT for video instructions)
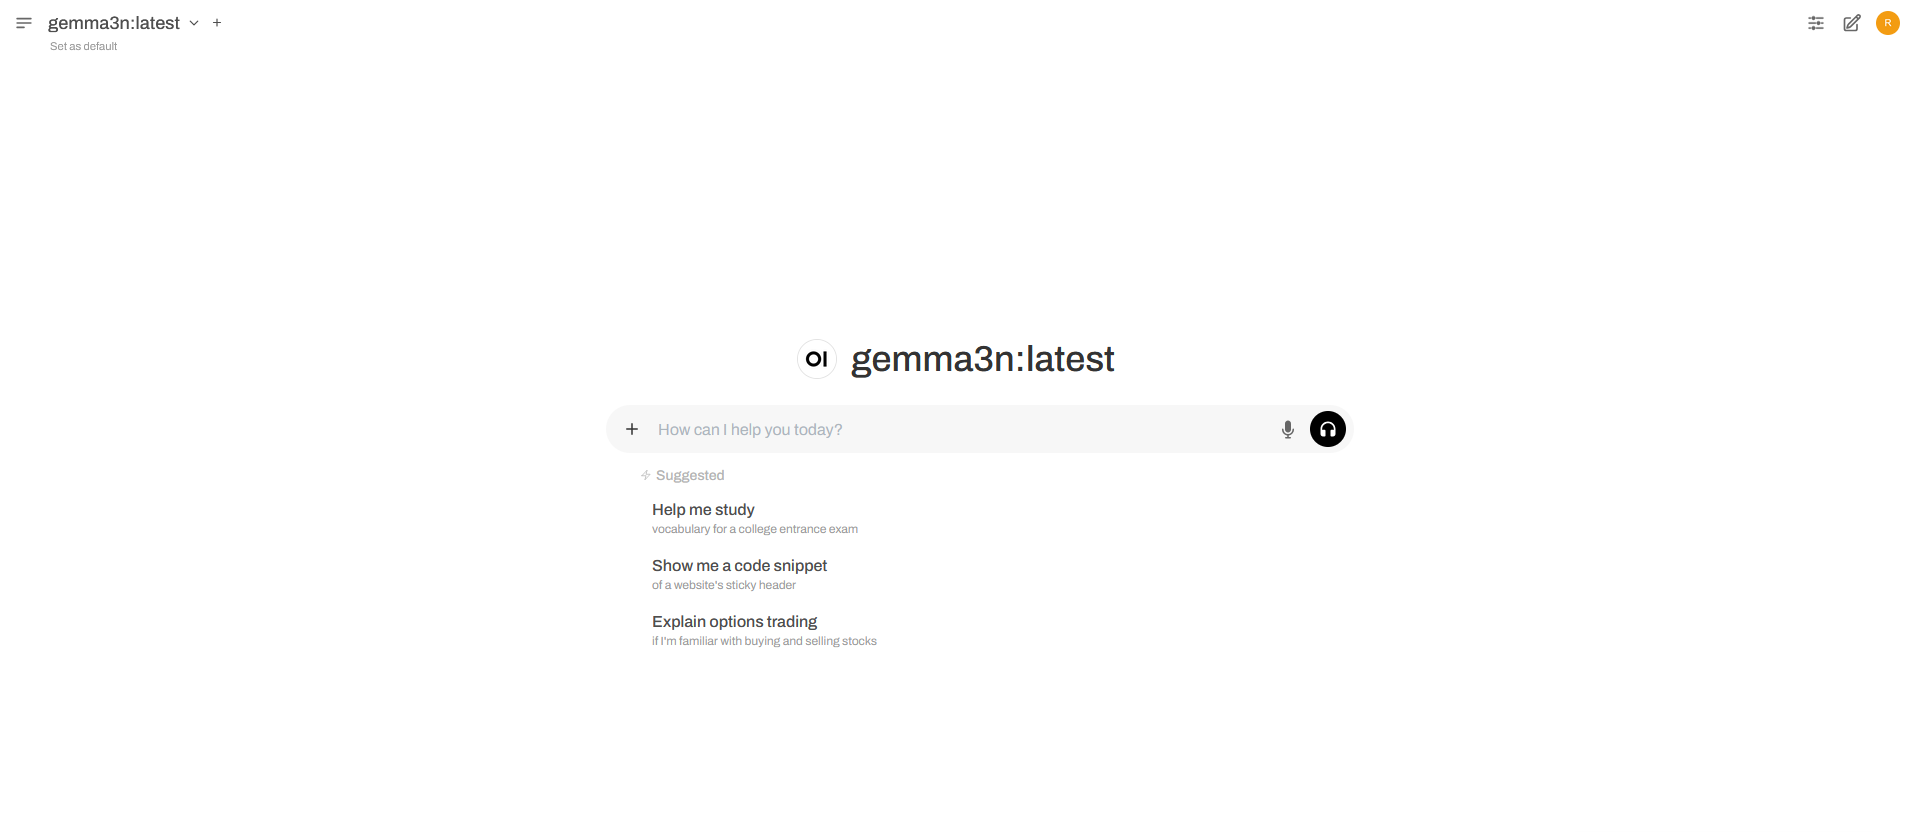
Then, open your browser: http://localhost:3000
You should see the chat interface.
Create your AI agent
Now, we need to create our AI Agent. Since it is API expose tutorial, let's have some fun and just create a Pirate 🏴☠️
Generate the Agent class with LarAgent command:
php artisan make:agent PirateAgentOpen app/AIAgents/PirateAgent.php and update instructions:
public function instructions(): string
{
    // short, fun prompt
    return 'Ahoy! You are a friendly pirate helper. Talk like a pirate, but stay helpful.';
}
Build an API controller for OpenWebUI
Now, we need to create a regular Laravel controller as we always do:
php artisan make:controller OpenWebUIControllerLarAgent v0.5+ comes with a ready-to-use MultiAgentController, we just need to extend it and add 2 properties: Agents and Models array:
<?php

namespace App\Http\Controllers;

use LarAgent\API\Completion\Controllers\MultiAgentController;

class OpenWebUIController extends MultiAgentController
{
    protected ?array $agents = [
        \App\AIAgents\PirateAgent::class,
    ];

    // Models shown in the UI
    protected ?array $models = [
        'PirateAgent',              // Uses default model from the class
        'PirateAgent/gpt-4o-mini',  // extra options
        'PirateAgent/gpt-4.1-mini',
    ];
}
Add the API routes
MultiAgentController comes with 2 methods:
completion - Main route for sending completion requests with the POST method, the same as OpenAI's /v1/chat/completions
models - List of models needed for UI's to check available options with the GET method, the same as OpenAI's /v1/models endpoint
So, let's open our routes/api.php file (Run php artisan install:api if there is no api.php) and add these 2 routes:
use App\Http\Controllers\OpenWebUIController;

Route::post('/v1/chat/completions', [OpenWebUIController::class, 'completion']);
Route::get('/v1/models',            [OpenWebUIController::class, 'models']);
Let's just run php artisan serve and our API is ready to be connected 👍
Connect Open WebUI to Laravel
- Open Open WebUI → Settings → Connections
- Click "+" under OpenAI API and fill the form:
| Field | Value |
|---|---|
| API Base URL | http://host.docker.internal:8000/api/v1 |
| API Key | 123 (any text for now) |
Click the "Verify Connection" button:
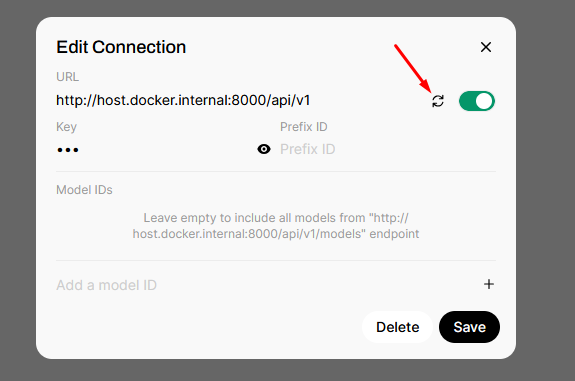
After the success message, click Save.
Chat with your pirate agent
The available options will be fetched by OpenWebUI from our api/v1/models endpoint and listed here:
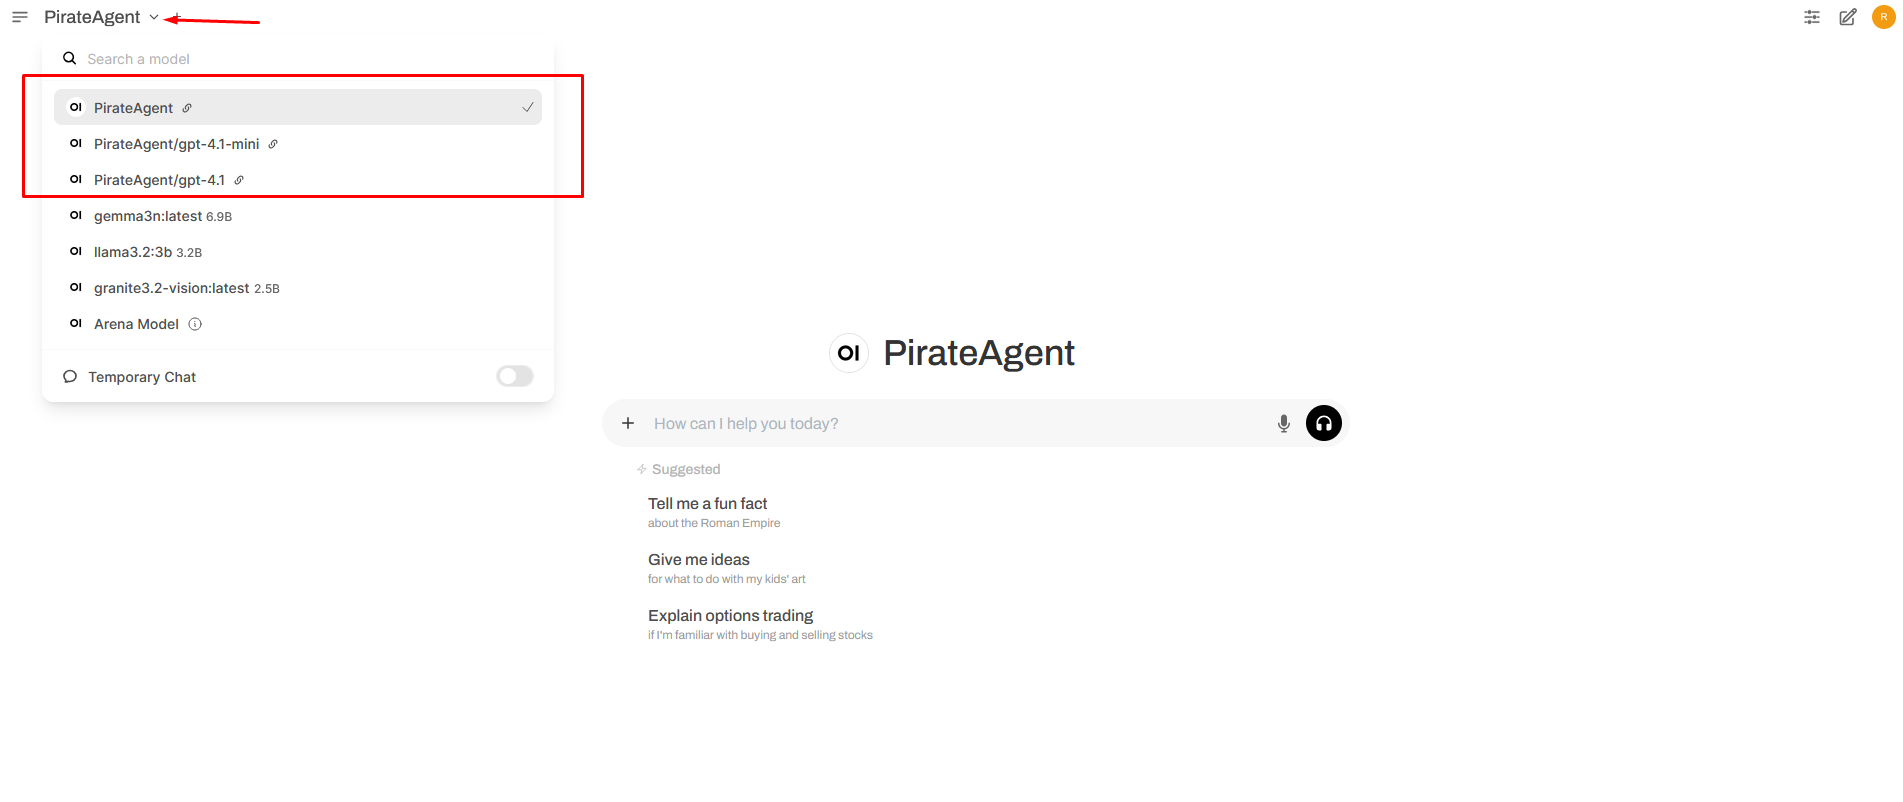
- Back on the chat screen, click New Chat.
- Open the model list → External → choose PirateAgent.
- Say "Hello!" – Your agent should answer with a pirate flavour. ☠️
Next steps
- Add more agents (just list their classes in
$agents). - Secure the endpoints with Laravel Sanctum (Bearer tokens).
- Point your Agents to local models if you prefer to avoid cloud usage.
- Add tool to your AI Agents.
🎉 You did it!
You have exposed a LarAgent AI agent as an OpenAI‑style API and talked to it through OpenWebUI.
From here you can build dashboards, integrate with other tools, or even sell your own AI Agent API Access. Happy coding!