LarAgent v0.5: Powerful And API-Ready AI Agents For Laravel

How To Turn Laravel AI Agents Into API Services?
The LarAgent v0.5 release makes it much easier to expose your Laravel‑based AI agents through an OpenAI‑compatible API and adds a lot of new capabilities.
- Connect LarAgent agents to any OpenAI-compatible UI, such as OpenWebUI, LibreChat and many others
- Make a two-way connection between different Laravel projects using LarAgent and allow inter-agent communication via HTTP
- Use the LarAgent agent in any OpenAI-compatible client, like LangChain, CrewAI and many others
- Integrate LarAgent Agents into your workflows made via n8n, make and many others
This article wraps up the highlights with simple code examples to help you get started 🎉
Expose your agents via REST API 🛠️
At the heart of v0.5 is the ability to expose one or more agents through a REST API that looks like OpenAI's /v1/chat/completions endpoint. You can do this with very little code using the new SingleAgentController and MultiAgentController.
Single agent controller
If you only need to expose one agent, extend SingleAgentController and set two properties:
namespace App\Http\Controllers;

use LarAgent\API\Completion\Controllers\SingleAgentController;

class MyAgentApiController extends SingleAgentController
{
    // Tell the controller which agent class to use
    protected ?string $agentClass = \App\AiAgents\MyAgent::class;

    // restrict available models
    protected ?array $models = ['gpt‑4o‑mini'];
}
Then register routes in your routes/web.php or routes/api.php file:
Route::post('/v1/chat/completions', [MyAgentApiController::class, 'completion']);
Route::get('/v1/models', [MyAgentApiController::class, 'models']);/models endpoint is needed for some UI clients like OpenWebUI to check for the available models ($models). If you only need the "completions" endpoint, you can skip the "models" route.This creates an API that is compatible with any OpenAI client. You can even enable server‑sent event (SSE) streaming by sending "stream": true in the request.
Multiple agents in one controller
To expose several agents under the same endpoint, extend MultiAgentController. This time you set an array of agent classes and optionally assign specific models per agent:
namespace App\Http\Controllers;
use LarAgent\API\Completion\Controllers\MultiAgentController;
class AgentsController extends MultiAgentController
{
protected ?array $agents = [
\App\AiAgents\ChatAgent::class,
\App\AiAgents\SupportAgent::class,
];
protected ?array $models = [
'ChatAgent/gpt‑4.1‑mini',
'ChatAgent/gpt‑4.1‑nano',
'SupportAgent', // Uses default model in SupportAgent class
];
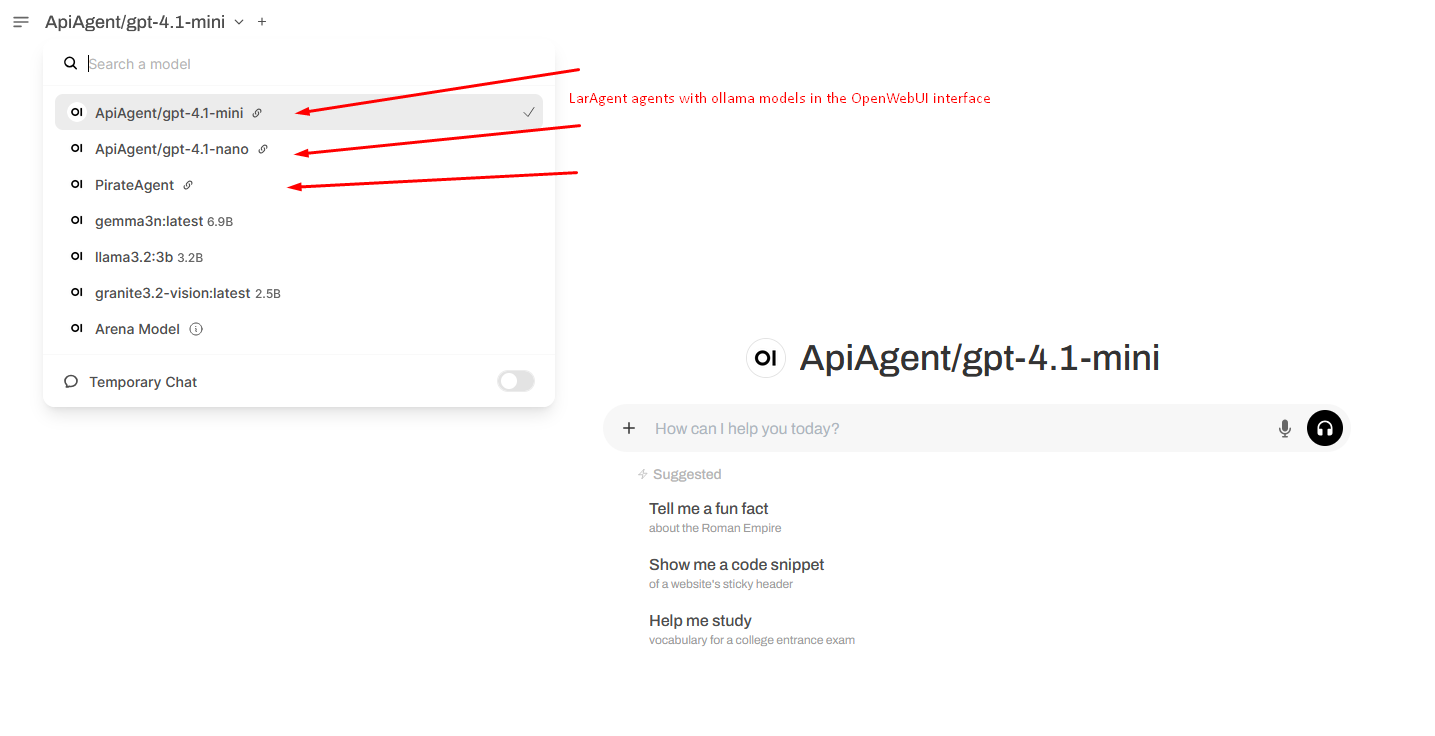
}Clients specify the model as AgentName/model or simply AgentName to use the default model. This makes it very easy to plug LarAgent into existing tools like OpenWebUI, where it will look like:
Custom controllers and the Completions class
When you need full control over the response (for example, to add your own validation or streaming logic), use the Completions class directly. It accepts a Request and the agent class, and returns either an array or a streaming generator:
use Illuminate\Http\Request;
use LarAgent\API\Completions;

class CustomController
{
    public function chat(Request $request)
    {
        // Get a response from the agent
        $response = Completions::make($request, \App\AiAgents\MyAgent::class);

        // Stream chunks if streaming, otherwise return JSON
        if ($response instanceof \Generator) {
            return response()->stream(function () use ($response) {
                foreach ($response as $chunk) {
                    echo "event: chunk\n";
                    echo 'data: '.json_encode($chunk)."\n\n";
                    ob_flush();
                    flush();
                }
            }, 200, ['Content-Type' => 'text/event-stream']);
        }

        return response()->json($response);
    }
}
By using Completions::make() you can build your own API endpoints while still following the OpenAI format automatically 💪
Multimodal inputs 🖼️🎧
LarAgent v0.5 introduces multimodal inputs. This means agents can handle not only text but also images and audio. This is very helpful for tasks like describing pictures, transcribing voice notes, building voice assistants, etc.
Images
Pass an array of publicly accessible image URLs to your agent with the withImages() method:
$images = [
    'https://example.com/image1.jpg',
    'https://example.com/image2.jpg',
];

$response = WeatherAgent::for('test_chat')
    ->withImages($images)
    ->respond();
Audios
To send audio, provide an array of objects containing the format and base64‑encoded data. Supported formats include wav, mp3, ogg, flac, m4a and webm
$audios = [
    [
        'format' => 'mp3',
        'data'   => $base64Audio,
    ],
];

echo WeatherAgent::for('test_chat')
    ->withAudios($audios)
    ->respond();
This makes it possible to build voice assistants or image analysis bots without leaving Laravel.
Enriched messages and control over responses
You can now enrich user messages with metadata and receive objects as responses.
Use UserMessage with metadata
Instead of sending a plain string, create a UserMessage object with extra data like user IDs. When you use a UserMessage, the agent does not run its prompt() method, giving you precise control
use LarAgent\Message;

$userMessage = Message::user($finalPrompt, ['userRequest' => $requestId]);

$response = WeatherAgent::for('test_chat')
    ->message($userMessage)
    ->respond();
Return the message object
When you need to inspect the assistant's message fully (for example, to get meta information like model name), call returnMessage() or set $returnMessage to true in your agent. This returns a MessageInterface instead of just the content
$reply = WeatherAgent::for('test_chat')
    ->returnMessage()
    ->respond("Tell me a joke");
// $reply is a MessageInterface with full data
New Groq driver and more model options 🌐
v0.5 includes a new GroqDriver that talks to the Groq Platform API. To use it, add GROQ_API_KEY to your .env file and set the provider to groq.
This expands the number of models you can choose. Groq provides:
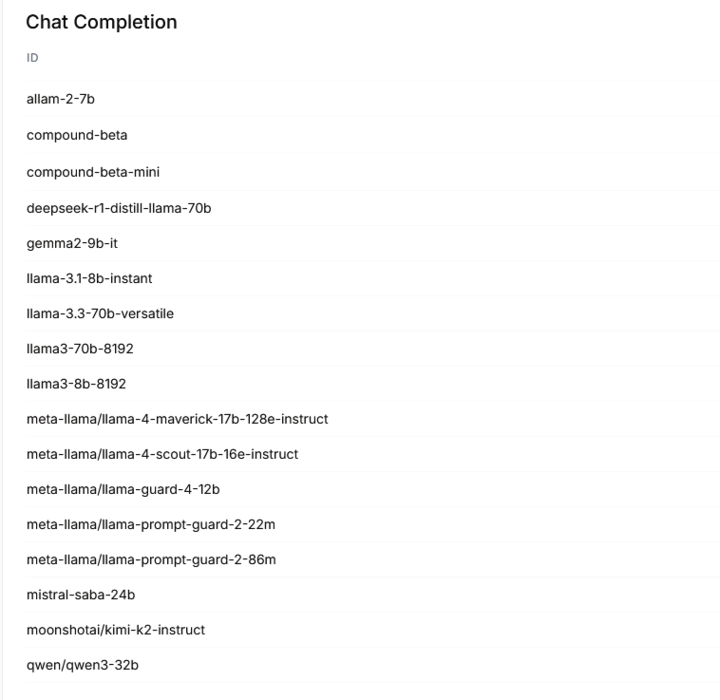
You can even set models per call using withModel():
$agent = WeatherAgent::for('test_chat');

// Change to a different model just for this call
$agent->withModel('qwen/qwen3-32b')
      ->message('What will the weather be tomorrow?')
      ->respond();
Flexible tool usage and phantom tools 🔧
Tools extend your agent by letting it call functions, APIs or other services. LarAgent v0.5 introduces more control over tools and a new Phantom Tool mechanism.
Tool choice per call
You can control how tools are used on a per‑call basis:
// Disable tools for this call
aNSwer = WeatherAgent::for('test_chat')
    ->toolNone()
    ->respond('What is my name?');

// Require at least one tool call for this call
WeatherAgent::for('test_chat')
    ->toolRequired()
    ->respond('Who is the president of the US?');

// Force a specific tool for this call
WeatherAgent::for('test_chat')
    ->forceTool('weatherToolForNewYork')
    ->respond('What is the weather in New York?');
If you don't set anything, the tool choice defaults to 'auto', meaning the agent decides when to use a tool. After a forced or required call, the mode automatically resets to "auto" avoiding infinite loops.
Phantom tools
Sometimes you want the agent to "call" a tool but handle the execution yourself (for example, to trigger an external workflow). Phantom tools are registered with the agent but not executed. Instead, the agent returns a ToolCallMessage, and you run the tool externally:
use LarAgent\PhantomTool;

// Create a phantom tool
$phantomTool = PhantomTool::create('phantom_tool', 'Get the current weather in a location')
    ->addProperty('location', 'string', 'City and state, e.g. San Francisco, CA')
    ->setRequired('location')
    ->setCallback('PhantomTool');

// Register it with the agent
$agent->withTool($phantomTool);

// Later, when the agent calls this tool, you receive a ToolCallMessage
$response = $agent->message('Weather in London?')->respond();
// Handle execution externally based on ToolCallMessage contentsPhantom tools are great for integrating with your own services, python scripts, go binaries, or for building event‑driven workflows. Tools registered by clients via Completions are using the PhantomTool as well, since execution happens on client-side
Other changes and improvements
- Chat session ID format: Model names are no longer part of the session ID. If you still need the old format (
AgentName_ModelName_UserId), set$includeModelInChatSessionIdtotrue. - Usage metadata keys: Usage data now uses snake_case (
prompt_tokens,completion_tokens) instead of camelCase. - Known issue: The Gemini driver does not yet support streaming.
- Better test coverage and bug fixes: Many behind‑the‑scenes improvements make agents more reliable
Get involved! 🌟
LarAgent v0.5 opens up lots of new possibilities for building AI‑powered apps in Laravel. You can create API endpoints, handle images and audio, control tools, and even integrate with external services using phantom tools.
If this sounds exciting, here are a few ways to get involved:
- Star the GitHub repo: showing support helps others discover the project. Visit github.com/maestroerror/laragent and click the ⭐ star button.
- Join the Discord community: share your ideas, ask questions, and meet other developers in the LarAgent Discord: https://discord.gg/NAczq2T9F8.
By giving LarAgent a try and joining the community, you help shape the future of Laravel‑powered AI agents 💪
Happy coding! 🚀